Shooting at Christmas lights: Christmas Laser Tag
Christmas dinner is over? Feeling a bit tired? This Christmas laser tag game keeps the party going.
This 3 minute video shows how I created a laser tag game in which you can shoot at the lights of a christmas tree. The lights are synchronized to a song, and you can only hit the lights when they are turned on. It works with any toy laser gun.
The project serves a first demo for the Studio Technix tool. It was created while the tool is still in early development. However it shows the potential of the tool: the software for this project was created in under 3 hours. Many small problems where quickly found because the compile-and-debug cycle is very fast without having to upload the code to the development board all the time.
In fact, after I ordered the electronic parts on the first day of the project, I could immediately start programming and testing the software. The reason is that I could test my software with a virtual representation of the Christmas tree lights and the infrared sensors. So by the time the parts arrived, my software was ready to go on the board. I only needed to swap the virtual Hardware Abstraction Layer (HAL) that I used for the simulation, with the STM32CubeMX HAL for the STM32Discovery board that I used.
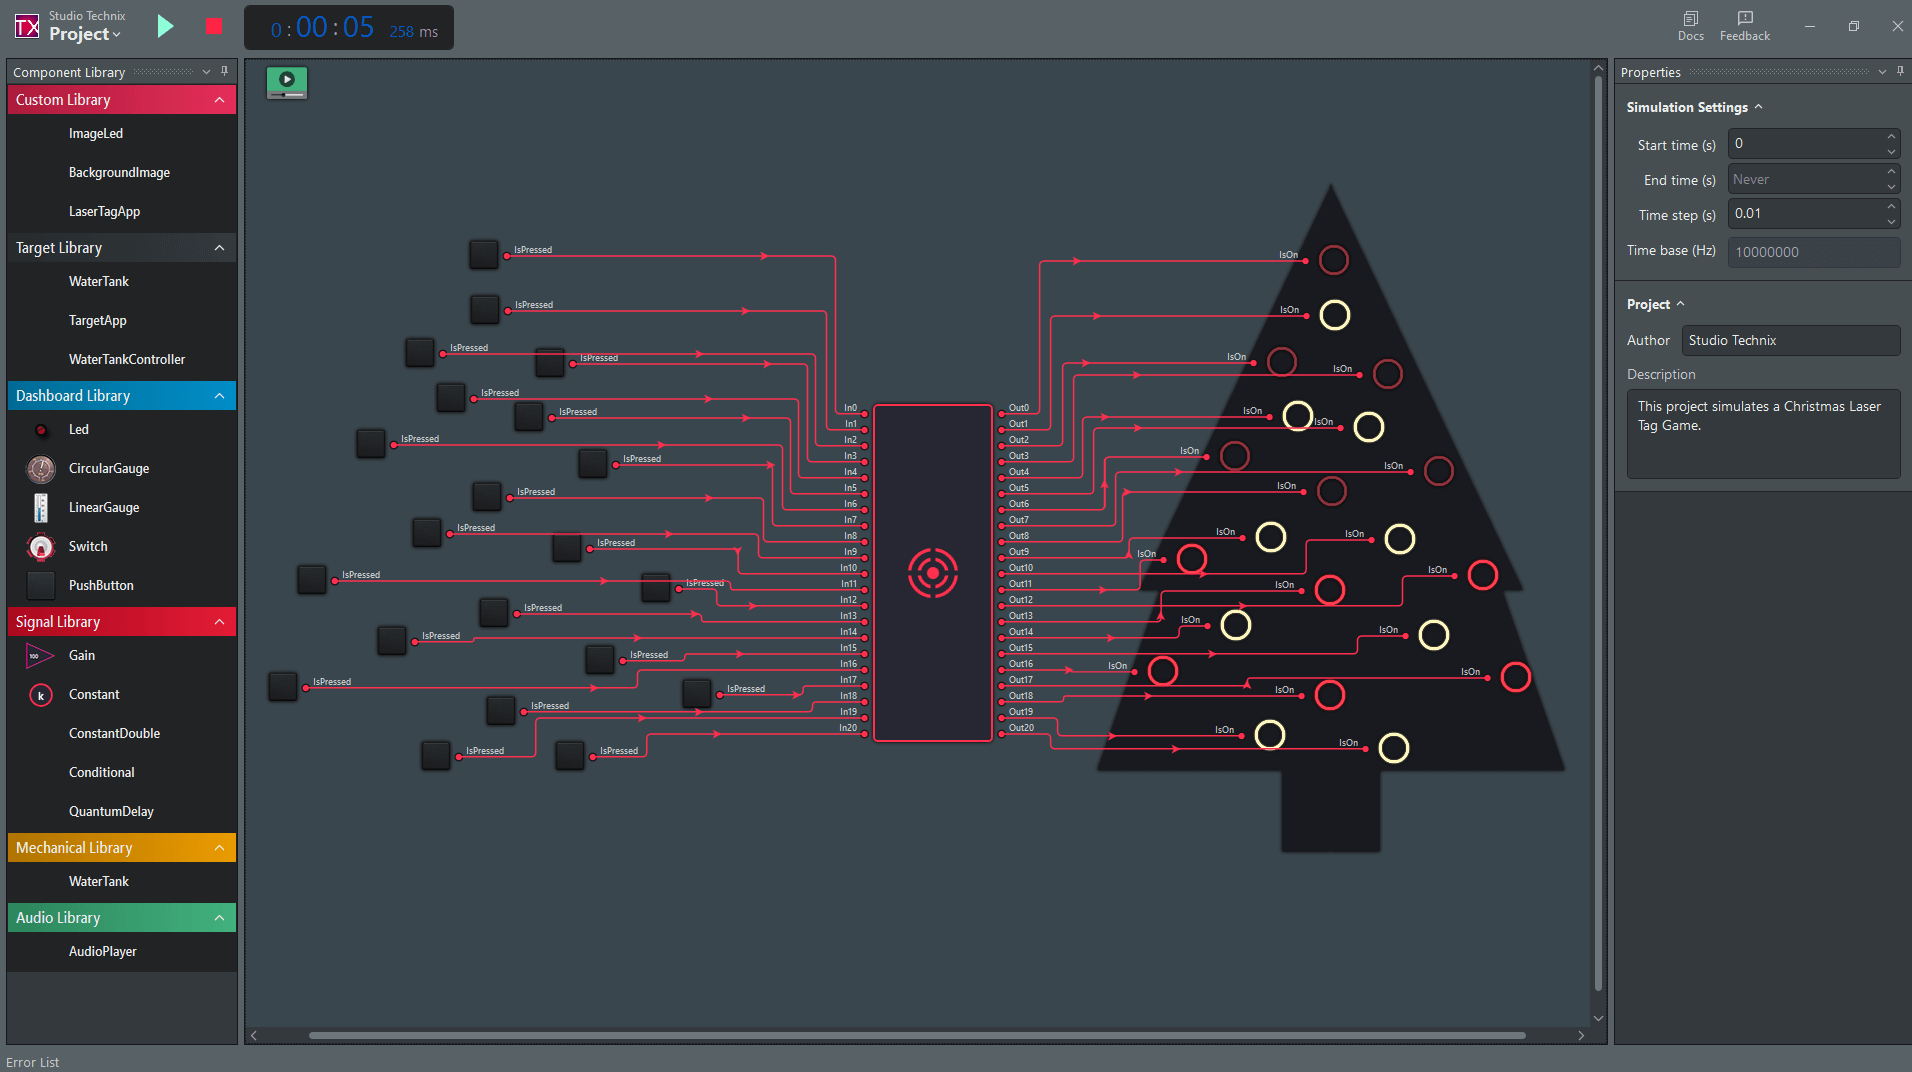
The model is shown on the figure below. On the left are a bunch of Pushbutton components which represent the infrared receivers (they act like an inverted pushbutton). On the right are the lights represented by an LED component (with a custom image for visualization). The large block in the middle contains the application code of Christmas laser tag game, which eventually will be flashed on the microcontroller.
When this project started, a virtual HAL with the same interfaces as the STM32CubeMx HAL was not yet available.
To create that, I extracted the STM32CubeMx HAL functions that I used, and replaced their contents with calls to the Studio Technix API functions.
For this project the work was limited since I only needed the HAL_GPIO_WritePin, HAL_GPIO_ReadPin and HAL_GetTick functions. This required about 40 lines of mockup code.
As for the electronic part of the project, for those interested, I used the following parts:
- LaserX (just a regular laser gaming set will do)
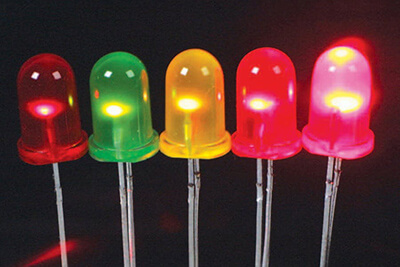
- Adafruit Flexible Neon-Like LED Strip (Red and Cold White)
- STM32F4 microcontroller
- TSMP58138 IR Receiver (any 38 KHz receiver will do)
- IRFZ24NPBF Mosfets (to be used as switch to control the 12V LED strip)
The result can be seen on the video above. It is posted on our Youtube channel. Consider subscribing if you want to see more videos like this one or to follow the future development of this tool.